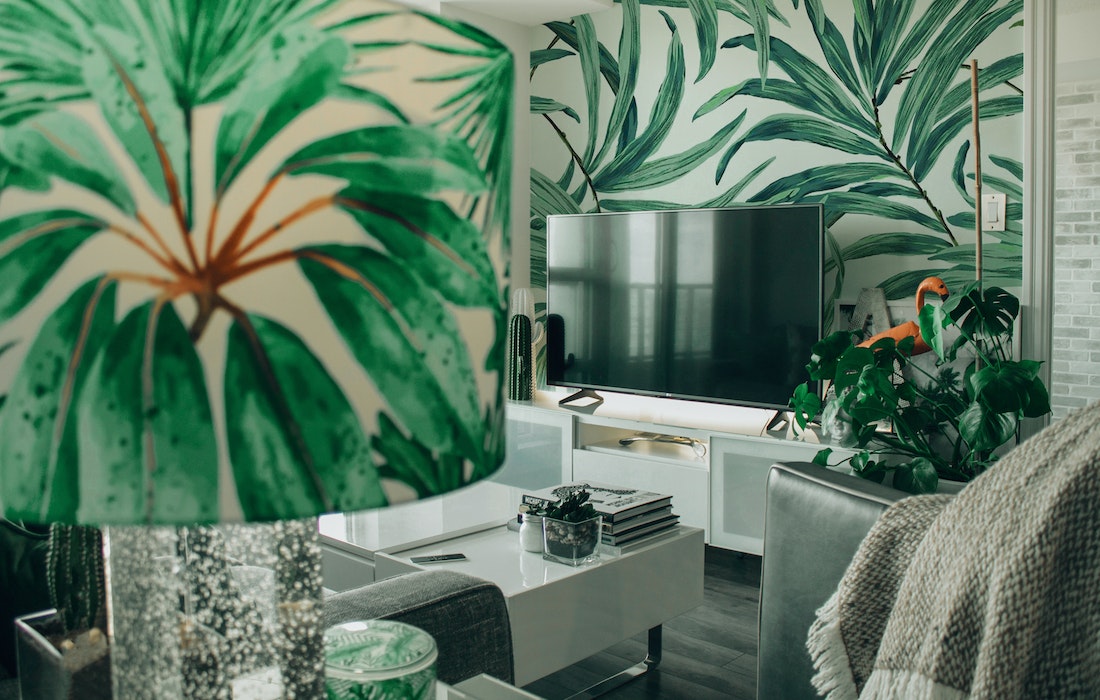
According to recent research, 70% of Americans have completed at least one home improvement project since the pandemic. This number is on the rise, with more and more people looking to elevate the look of their homes.
One of the easiest ways to transform a home is through painting or using wallpaper. However, this process requires prepping the wall, and in many cases, homes have an existing wallpaper with stubborn glue that makes the task seem daunting. This article will discuss practical strategies on how to remove wallpaper glue and prepare your walls for a fresh new look.
Tools and Materials Needed
When removing wallpaper, the right tools can make the process much easier and more efficient. Here are some wallpaper removal tools and materials you’ll need:
- Wallpaper steamer: A wallpaper steamer is a machine that uses hot water to soften the wallpaper glue, making it easier to remove. It’s a useful tool if you have a lot of wallpaper to remove, but it can be expensive to buy or rent.
- Wallpaper scraper: A wallpaper scraper is essential for removing wallpaper, especially for larger areas. It is designed to scrape the wallpaper and glue from the wall without damaging the surface.
- Putty knife: A putty knife is helpful for removing stubborn wallpaper glue and scraping away any remaining wallpaper pieces.
- Sandpaper: Sandpaper can smooth out any rough spots on the wall after the wallpaper has been removed.
- Bucket: You’ll need a bucket to hold water and any wallpaper removal solution.
- Wallpaper removal solution: There are various commercial wallpaper removal solutions available that help break down the wallpaper glue, making it easier to remove.
- Protective gear: It’s essential to wear gloves, safety glasses, and a dust mask while removing wallpaper to protect yourself from any chemicals and debris.
DIY Hacks for Removing Wallpaper Glue
Removing wallpaper glue can be a challenging task, especially if you don’t have the right tools or knowledge. However, several DIY hacks can make the process much more cost-effective. Below are practical strategies to get rid of stubborn wallpaper glue.
Using Fabric Softener and Water
Fabric softener is an effective and inexpensive way to remove wallpaper glue. Mix one part fabric softener with three parts hot water and stir well. Use a sponge or spray bottle to apply the solution to the wallpaper and let it sit for 20 minutes. The fabric softener will soften the glue, making it easier to scrape off with a scraper or putty knife. Rinse the wall with clean water to remove any residue.
Making a Vinegar and Water Solution
Vinegar is a natural cleaning agent that can also help remove wallpaper glue. Mix equal parts white vinegar and hot water in a spray bottle and shake well. Spray the solution onto the wallpaper and let it sit for 15-20 minutes. Use a scraper or putty knife to remove the wallpaper and glue. The vinegar will help break down the bond, making it easier to remove.
Using a Wallpaper Removal Solution
Commercial wallpaper removal solutions are available at most hardware stores and can be very effective. Follow the instructions on the product carefully, and be sure to wear protective gear. Apply the solution to the wallpaper and let it sit for the recommended time. Rinse the wall with clean water to remove any residue. Using a wallpaper removal solution, you can easily and quickly remove any stubborn glue.
Creating a Cornstarch Paste

Cornstarch paste is a budget-friendly and effective DIY solution for removing wallpaper glue. Mix equal parts cornstarch and water to create a paste. Apply the paste to the wallpaper and let it dry completely. Once dry, use a scraper or putty knife to remove the wallpaper and glue. This method may take longer than others, but it is cost-effective and safe for the environment. Plus, you probably already have everything you need in your pantry.
Clean Up and Prep for Painting or Wallpapering

After successfully removing the wallpaper glue, properly cleaning up and preparing the wall for your next project, whether painting or wallpapering, is essential. Here are the steps for cleaning up the glue residue and preparing the wall:
- Remove any remaining wallpaper or glue residue with a scraper or putty knife.
- Use a sponge or cloth to clean the wall with warm soapy water, being careful not to soak the wall.
- Rinse the wall with clean water to remove any soap residue.
- Allow the wall to dry completely. You can use a fan or open windows to speed up the drying process.
- Sand the wall lightly with fine-grit sandpaper to smooth out any rough spots or remaining residue.
- Use a damp cloth to wipe down the wall and remove any dust from sanding.
- Apply a primer to the wall to ensure a smooth surface for painting or wallpapering. Let the primer dry completely before applying paint or wallpaper.
Other Tips for Removing Wallpaper Glue

Aside from the DIY hacks mentioned earlier, there are some other tips that can make removing wallpaper glue easier and more effective. Here are some additional tips:
- Use a steamer: A wallpaper steamer can be an excellent tool for removing wallpaper glue. The steam helps to soften the glue, making it easier to scrape off.
- Score the wallpaper: Use a scoring tool to create small holes in the wallpaper. This strategy will allow the wallpaper removal solution or fabric softener to penetrate the glue more effectively.
- Work in small sections: It can be tempting to try and remove large sections of a wallpaper at once, but working in small sections can be more effective. This method lets you focus on one area at a time, ensuring all the glue is properly removed.
- Be patient: Removing wallpaper glue can be time-consuming, but it’s essential to be patient and take time. Rushing the process can lead to damage to the wall or incomplete removal of the glue.
Removing wallpaper glue can be daunting, but with the right tools and techniques, it can be done effectively and efficiently. Whether you choose to use DIY hacks or more advanced tools like a wallpaper steamer, it’s essential to take your time and be patient throughout the process. By properly preparing the wall for your next project, you can ensure that the result looks great and lasts for years.


