Have you always wanted to try your hand at realistic drawings? Interested in adding a touch of 3D to your drawings to gain an edge as a professional illustrator? Did you try pencil drawing images but struggle with adding realistic shading and light effects?
We heard you and we’re here to tell you that you can do it. Realistic drawings need not be a pipe dream for the beginning artist. You can create a realistic art with enough determination and patience. Although there’s no one way to do realism, it has its own style. Similar to other styles, it has certain rules that set it apart from other portrait drawings.
How can you perfect the art of realistic drawings?
How Do You Draw Realistic Drawings?
There are a few steps to follow when drawing realistic images. These are:
- Have the right drawing materials
- Map out your composition
- Study the light
- Learn to shade
- Make smoother transitions
Have the Right Drawing Materials
When it comes to drawing realistically, you don’t always need all of the art tools in your local bookstore. Having a few different materials can help your drawings look more realistic. If all you have is a simple pencil, it’s time to buy tools that will help you draw more realistic drawings.
Detail is a huge part of realism. To achieve detail, you’ll need a variety of erasers, pencils and tools to achieve the look you want.
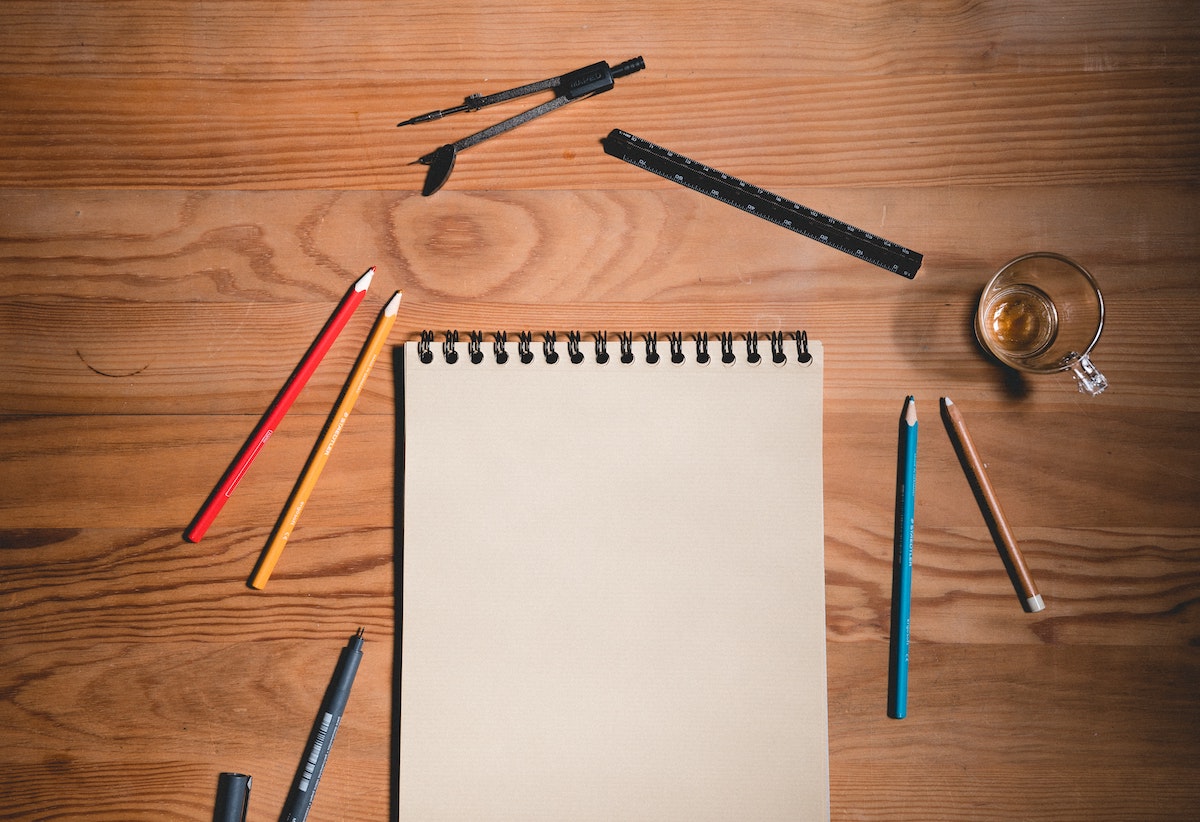
Here are some tools you’ll need to make the coolest realistic drawings:
- Kneaded erasers. These erasers look like balls of clay. You can shape them into whatever shape you want so you can easily erase small details, which is a plus.
- Blending stumps. These stumps help with smudging and blending when you’re shading your drawings. If you want to blend the smaller details, get the smaller version of the blending stump called “tortillons” to achieve the best results.
- Proportional divider. Like a pair of scissors, a proportional divider can help you measure aspects of your drawing to ensure you got all of the proportions right.
- Grid. Still struggling with proportions? Use a grid! You can either buy a grid or draw yours.
Map Out Your Composition

Most newbie artists start by drawing on one section, adding some shading, finishing it and being done with it. However, if you’re always ending up with weird-looking portraits or animals that have lopsided heads or eyes that are too big for the bodies, map out your composition to make your drawings look more realistic.
To map out your composition:
- Take a photo of the figure you want to draw and sketch it out.
- Make sure your strokes are light and gentle. Refrain from sketching with dark lines or dark shading immediately; otherwise, you can’t erase them easily, especially if you want to make some changes. You’ll also end up with worn-out and messy paper.
- Use a hard lead pencil. Use it lightly when mapping out where everything should go across the paper.
- The mirror is a great drawing tool, too. Using a mirror can help you highlight any disproportioned elements and mistakes you might’ve missed.
Study The Light
Knowing how light works is a crucial part of becoming an artist. Light emphasizes details in your drawing, plus it helps you see things clearly. When the light changes, so will the looks of your drawing.
To create a more realistic drawing, understand how to light up subjects, casts shadows and how light behaves in general (in terms of intensity and direction). All of these factors are necessary when you’re learning how to draw images realistically.
How do you study the light? Plenty of practice.
Take your subject and choose which direction your light source should come from. Start by drawing a test image (e.g. a simple 3D shape) and put it on a table. Also, prioritize the highlights since these are the brightest parts of your image. The highlight is the reflection of the light source, and it changes according to where you’re standing when you’re looking at your subject.
Next, determine the depth of light of your subject. Is it ahead of the object or behind it? This will help you determine where the highlight is or where your shadows are.
To truly understand how highlights and shadows behave, test things out. Take a lamp or any light source and move it around your subject to see how its look changes. Observation is a big part of this project since defining mid-tones and shadows can help you recreate more realistic images.
Learn to Shade
Once you’ve figured out how lighting works, shading is an easier task. Even if your image reference points out the obvious shadows, noticing and understanding the differences in value can help you create more subtle shades.
When you’re starting with the shading process, practice control over your grip on your pencil. A proper grip ensures smooth shading. Practice shading by applying different pressures on your pencil and see the results. If you want to create a lighter shade, hold your pencil lightly and keep it close to the paper. If you want to make larger shades, consistent strokes are important. Hold your pencil closer to the base and bend your arms at the elbows instead of drawing with your wrist.
When shading, dull pencils are always the best. These pencils can help you draw thicker yet softer strokes. In the end, you’ll end up with a drawing you’d love to share (or even put up in your home).
Make Smoother Transitions
To make smoother transitions, blend out your lights and darks to create mid-tones. These tones function as the transition between the lightest parts of the drawing to the darkest parts. Think of it this way: they’re like the different levels of gray. It’s responsible for the 3D effect on most realistic drawings.
Without mid-tones, you’ll end up with a solid black and white image, which keeps your image from looking realistic. Changing up the tones rounds out your subject and gives them life. Creating good transitions between different tones is achievable with a good shading technique.
How Can You Improve Your Realistic Drawings?

Once you’ve practiced the basics, here are a couple of tips to improve your realistic drawings:
Use Quality References
Whether you’re drawing from life or using a photograph, always search for a good reference. If you’re using a photograph for reference, make sure it has a great resolution. The photo should also have a great play between shadows and lights. Avoid using underexposed or overexposed photos for reference since these will keep you from achieving a 3D look.
If you’re a realism beginner, open up your photo in photo-editing software like Gimp or Photoshop and turn the photo into grayscale or black. This can help you pinpoint darks, mid-tones and lights easier.
Start With an Initial Light Sketch
When starting any drawing, learn to visualize what you’re looking at as a combination of shapes. The location and proportion of these elements in relation to each other must be accurate. After all, one of the worst things to happen is to spend time on drawing details just to find out your locations and proportions are wrong.
Don’t Focus on the Visible Lines
In realism, there’s no such thing as visible lines. The shapes you see are created by subtle differences in values, which are influenced by shadows and lights. Cartoons are often outlined; realistic drawings are not.
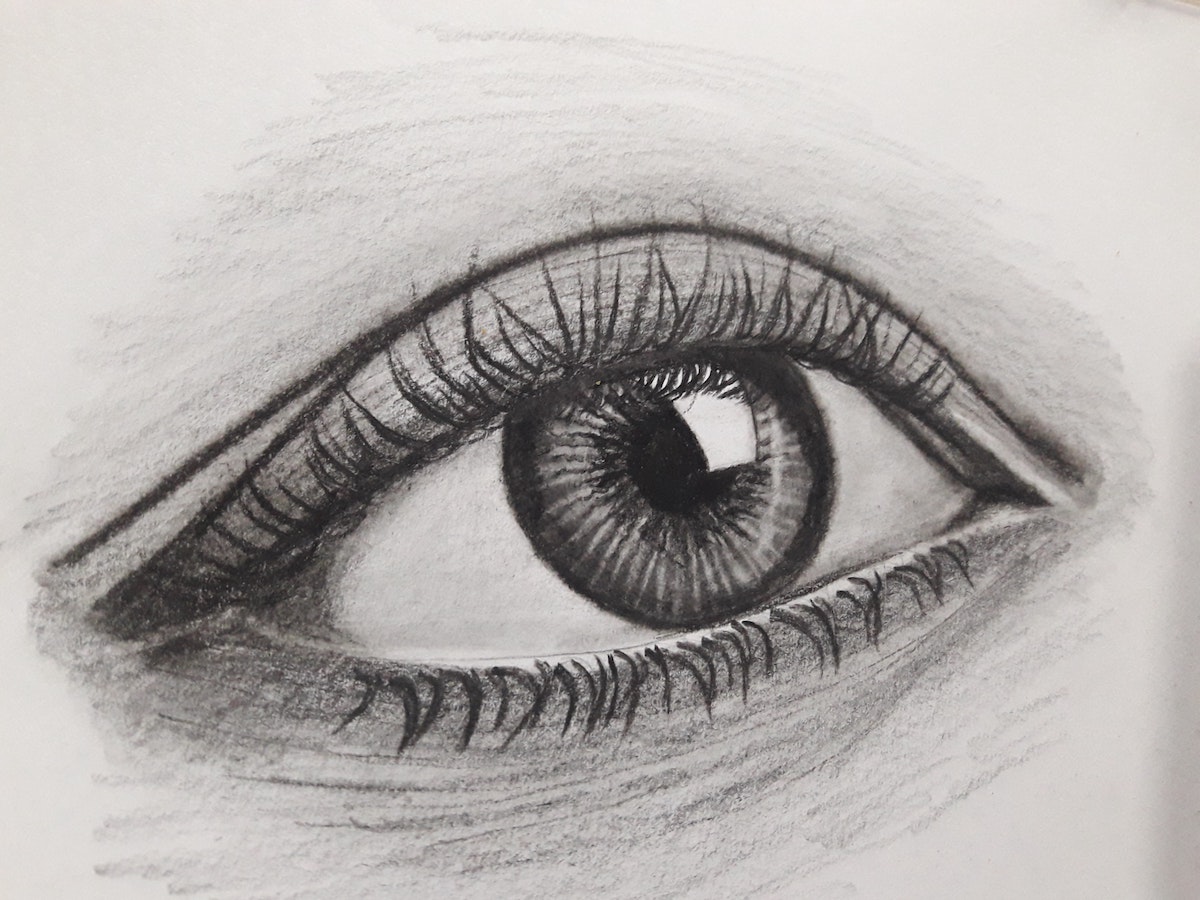
That said, you can draw lines when you’re working on texture (e.g. eyelashes, eyebrows and hair). These lines, however, aren’t always uniform from one edge to another, but they offer variety in terms of value and thickness.
Realistic drawings can be challenging, especially if you’re new to the drawing scene. However, it’s not an impossible art to perfect. With the right tools and techniques, you can do it, too.